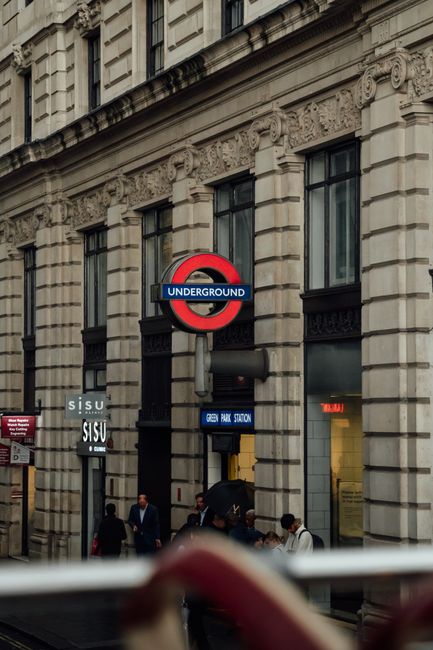






Introduction — Why and how to use an Oyster card in London: a practical guide
Arriving in London can be both exciting and a bit overwhelming. Between the Tube, the iconic double-decker buses, the DLR and the Overground services, the first practical question most people ask is: how do I pay for my journeys without wasting time or money? The most flexible and cost-effective option for most travellers is the Oyster card (or using contactless payment), which automatically calculates fares, caps your daily spend and works across almost all London transport services.
This hands-on guide walks you through exactly how to buy an Oyster card, how to top it up at the airport, station, shop or online, and how to start using it right away. No vague generalities: you’ll find precise addresses, typical opening hours, prices shown in euros (with approximate pound sterling equivalents), printable or phone-friendly checklists, and local tips to avoid queues and unnecessary charges. I’ll also cover important exceptions (airport zones, national rail services, ferries), the difference between Oyster, Visitor Oyster and contactless card payments, and how to recover any remaining balance or refundable deposit if needed.
Before we get into the steps, a practical note: Transport for London (TfL) fares change regularly. The euro amounts shown here are approximate conversions of the pound sterling fares valid at the time of writing (2024). To confirm fares for your trip, check tfl.gov.uk. That said, the practical steps for buying and topping up are stable: where to find an Oyster, which machine to use, how to load a Travelcard, and how to check the card works at the gates.
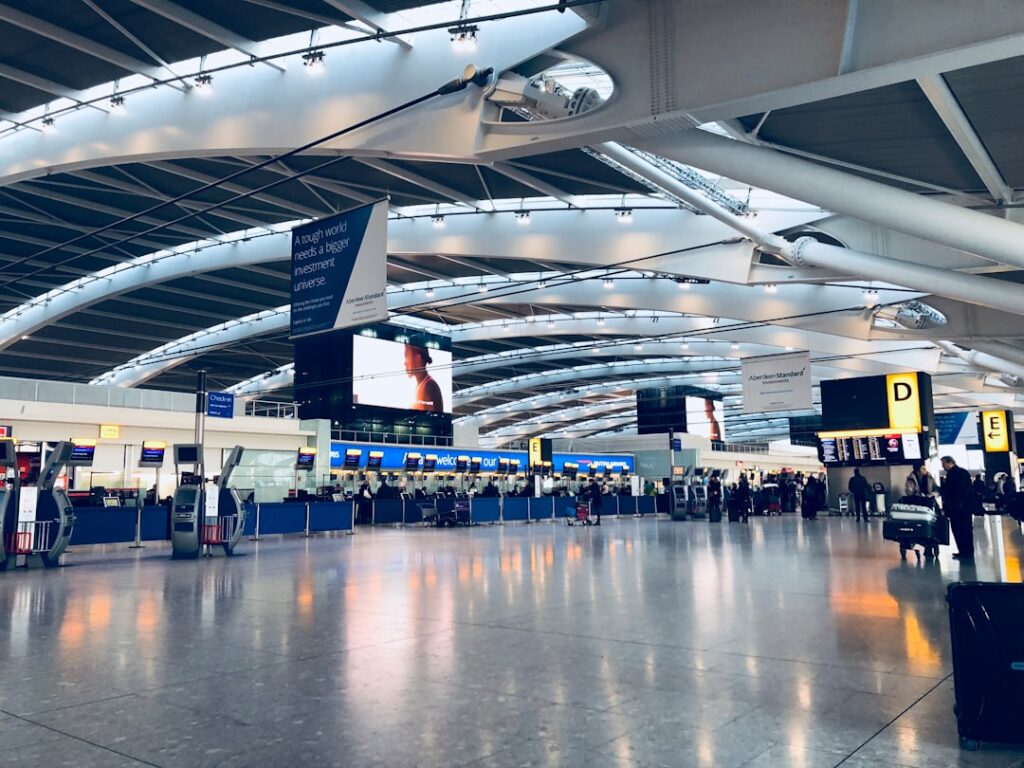
This guide is built to be used immediately: leaving in an hour? Follow the “Airport quick buy” checklist; trying to save money? Read the “Topping up and capping” section; travelling intensively in London? Read “Daily and weekly caps” to optimise costs. I’ll also clearly explain where to buy an Oyster face-to-face (information centres), which machines accept cards or cash, and the newsagents that will top up your card.
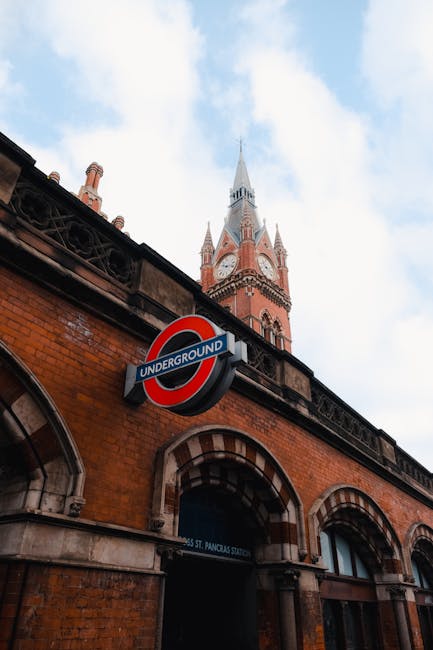
Initial purchase: where and how to buy an Oyster card, step by step
Step 1 — Choose the right type of card
There are three main options:
- Standard Oyster (for residents and visitors): a reusable physical card with a refundable deposit in many cases — a good choice if you might return to London.
- Visitor Oyster: designed for tourists and sometimes sold at airport stores and online; same functions but occasionally promoted with visitor-specific offers.
- Contactless payment: use your international bank card (contactless) or your smartphone (Apple Pay / Google Pay). No card purchase is required, but check your bank’s foreign transaction rules and any daily limits.
Local tip: for a short stay (1–3 days) with few trips, contactless bank card payments are often the fastest option. For stays of 4 days or more, a loaded Oyster is usually more economical since you can buy Travelcards (Zones 1–2, 7-day) and take advantage of daily caps.
Step 2 — Buying at the airport (detailed procedure)
- On arrival in London, head to the arrivals hall of your terminal. Typical purchase points include:
- Heathrow Airport, Terminal 5, Travel Information Centre, Heathrow Airport, Terminal 5, Longford TW6 2GA — Ticket machines are generally available 24/7; the information centre is typically open 06:00–22:00. You can buy an Oyster from a machine or the counter. Typical cost: Oyster card refundable deposit £5 (~€5.75) + suggested initial top-up £10 (~€11.50). Check Heathrow’s website for current opening times.
- Gatwick Airport, South Terminal, Gatwick Airport, RH6 0NP — ticket machines and Southern Railway desks on the arrivals level; desk hours commonly 05:00–23:00. Suggested starting top-up: £15 (~€17.25).
- Stansted Airport, Arrival Hall, Bassingbourn, STN, Essex CM22 6WN — ticket machines and Greater Anglia / Stansted Express desks; hours usually 05:00–22:00 depending on services. Suggested initial top-up £10–£15.
Important: machines accept bank cards and, in some locations, cash. At Heathrow and Gatwick, use the machines to avoid queues at the counters. A small refundable deposit for the physical card may be required when you buy it — have about €5–€6 ready by card or cash to cover the cost of the plastic card.
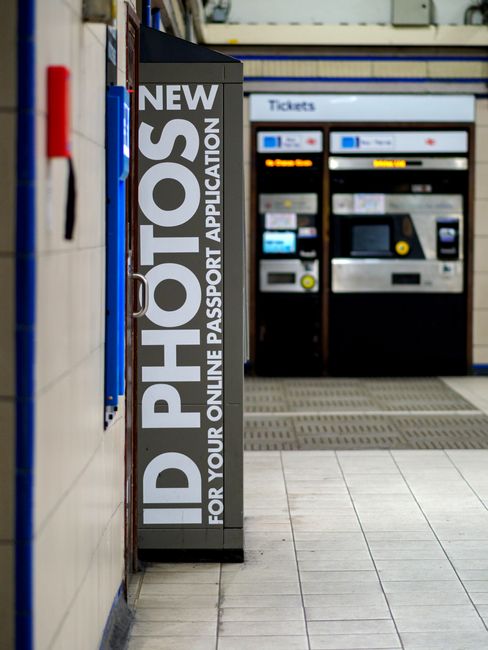
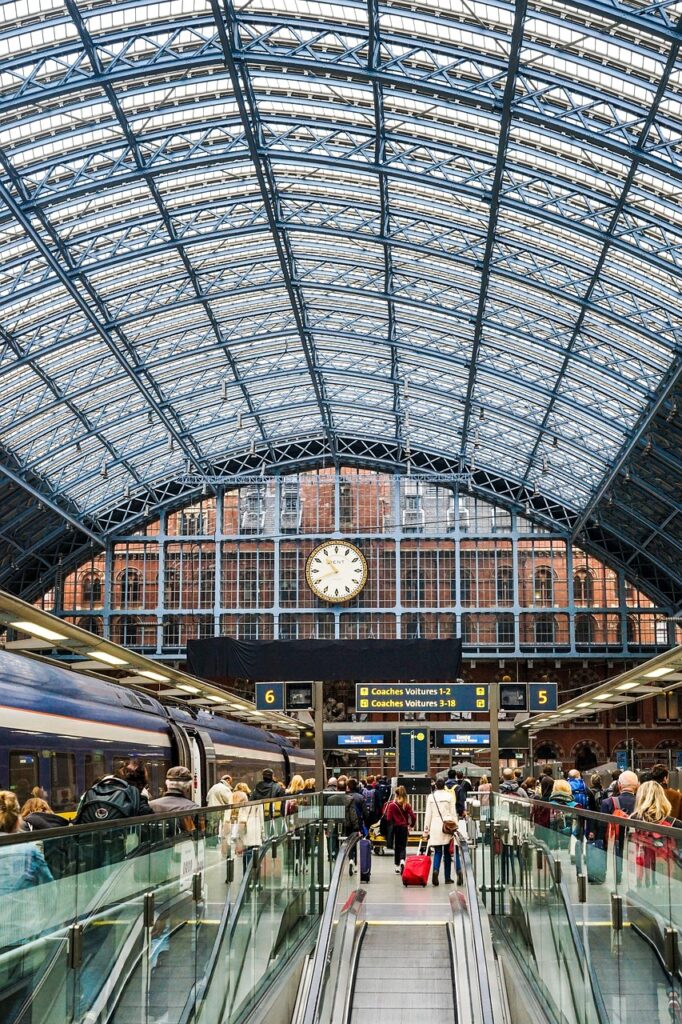
Step 3 — Buying in central London (major stations)
- King’s Cross St. Pancras Underground Station — Euston Road, London N1 9AL. Travel Information Centre open about 06:00–22:00 on weekdays. Ticket machines accept international cards. Precise counter address: King’s Cross, Main Booking Hall, Euston Rd, London N1 9AL.
- Victoria Station Travel Information Centre — Terminus Victoria, Terminus Pl, London SW1V 1JT. Counter typically open 06:30–21:30. Some machines available 24/7 depending on the location.
- Paddington Station — Praed Street, London W2 1HQ. Counter and machines in the main concourse. Opening times vary, commonly 05:00–23:00.
Exact steps at the station:
- Find machines labelled “Ticket machines / Oyster top-up”.
- Select “Buy an Oyster card” or “Top up / Buy tickets”.
- Pay the card deposit (about €5–€6) and the initial amount you want to load (recommended €10–€20 depending on trip length).
- Collect the card and test it immediately by tapping it on the blue reader at the gate; you should see a message confirming your balance.
How to top up your Oyster: methods, locations and tips
Topping up your Oyster is straightforward but varies depending on your location and time pressure. Below are all the methods with concrete steps and sample addresses.
Method A — Ticket Machines (in Tube stations and most rail stations)
- Go to a machine marked “Oyster / Tickets”. Example: Liverpool Street Station, Liverpool Street, London EC2M 7QH — machines are in the central concourse and typically available 24/7.
- On the screen, select “Top up / Load Oyster”.
- Enter the amount you want (common options: £5, £10, £20 — roughly €5.75, €11.50, €23). You can also buy a Travelcard (eg: 7-Day Travelcard Zones 1–2 ~ £38.40 ≈ €44.16) if offered.
- Pay by contactless card or cash where accepted. Keep your receipt if you need proof.
- Tap your Oyster on the blue reader to apply the top-up; the screen will confirm the new balance.
Method B — Travel Information Centre counters (recommended for complex purchases)
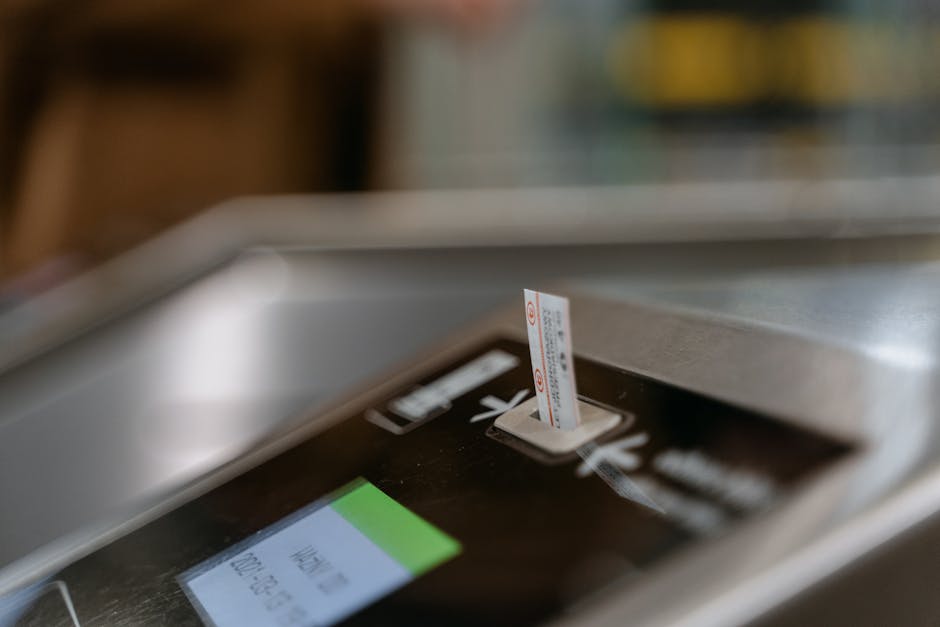
- Sample address: Victoria Coach Station Travel Information, Victoria Coach Station, 164 Buckingham Palace Rd, London SW1W 9TP — counter open roughly 07:00–21:00. Ideal for buying a Visitor Oyster or a card loaded with a Travelcard.
- Ask clearly: “I’d like to top up my Oyster card by £X.” Hand the card to the agent so they can load the amount and give you a receipt.
Method C — PayPoint outlets and newsagents
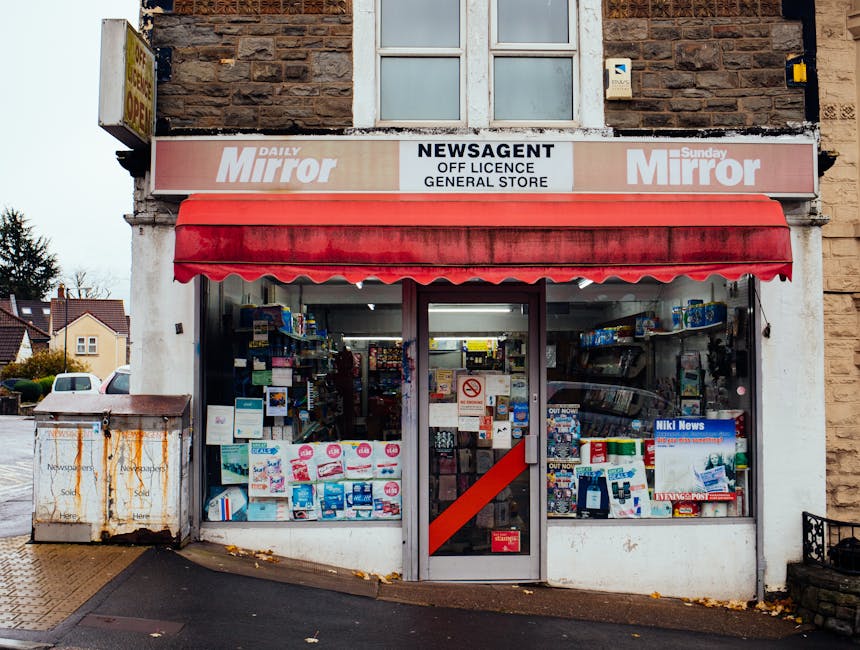
Many small shops display the “Oyster top-up / PayPoint” logo in their window. This lets you add small amounts without going to a station. Look for the yellow/blue logo in local shop windows. Practical example: WHSmith Newsagent — 79-81 Tottenham Court Rd, London W1T 4TJ (approx hours 07:30–20:00).
Method D — Online and the TfL app
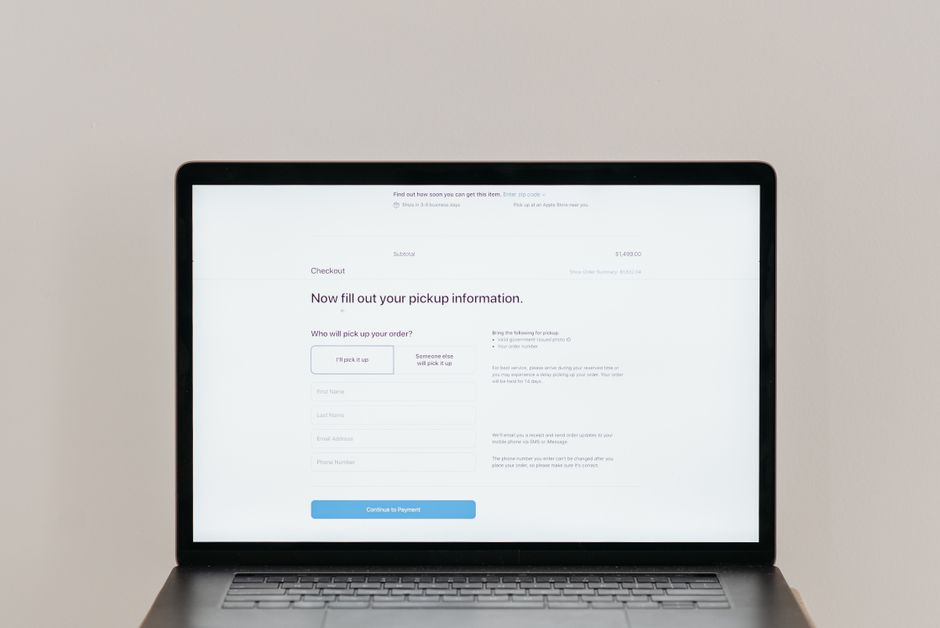
- If your Oyster is registered (via your TfL account), you can top up online and then collect the value at a station terminal (choose “Collect online top-up”).
- Steps: log in at account.tfl.gov.uk, choose “Top up online”, pay by card, then go to a station ticket machine and select “Collect online top-up”. Tap your card to finalise the update.
Fares, daily caps and how to optimise your spending: exact figures and examples
Knowing the key fares helps you avoid overspending. Below are figures to remember (indicative 2024 fares with euro conversions). Always check tfl.gov.uk before you travel.
- Single Tube journey Zone 1–2 (paid with Oyster or contactless): about £2.80 (~€3.22) during peak times, £2.60 (~€2.99) off-peak.
- Daily cap (Zones 1–2): around £7.70 (~€8.86). This means once you’ve spent that amount in a day, you won’t be charged for further journeys in the same zones that day.
- 7-Day Travelcard Zones 1–2: about £38.40 (~€44.16). Worth buying if you plan several heavy travel days — generally cost-effective from around three full travel days.
- Heathrow Express and some intercity trains are not covered by Oyster at the express fare: Heathrow Express single £25 (~€28.75). If you have time, take the TfL Rail or the Underground for a cheaper option.
Optimization examples:
- If you’re staying 4 days and expect 2–4 trips per day in Zones 1–2, buy a 7-Day Travelcard for £38.40 (~€44.16) on Oyster — simpler and often cheaper than relying on daily caps.
- If you’re staying 2 days and will make about 3 trips a day in Zones 1–2, use contactless or top up an Oyster and let the daily cap protect you — you’ll pay at most £7.70 (~€8.86) per day.
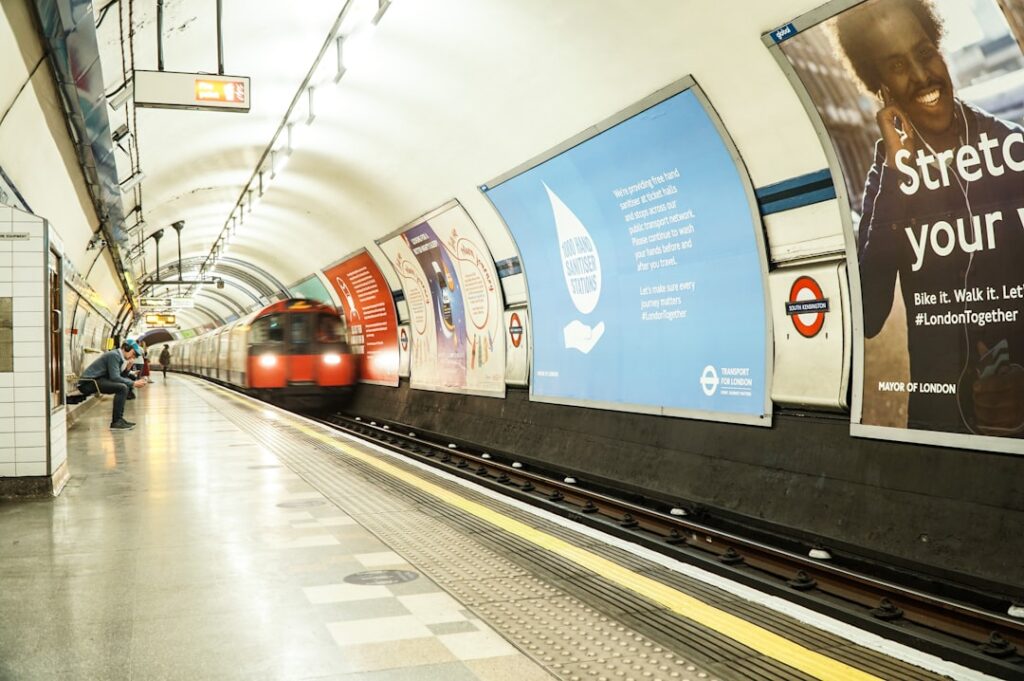
Daily use: practical steps when boarding a train or bus
Step-by-step to avoid common mistakes:
- Before entering the gateline, check your balance by tapping your Oyster on the blue reader. You’ll see the remaining balance and sometimes the last fare charged.
- For the Tube and Overground: touch in (tap the reader at the start of your journey) and touch out at the end. Forgetting to touch out can result in being charged a maximum fare (a temporary penalty fare).
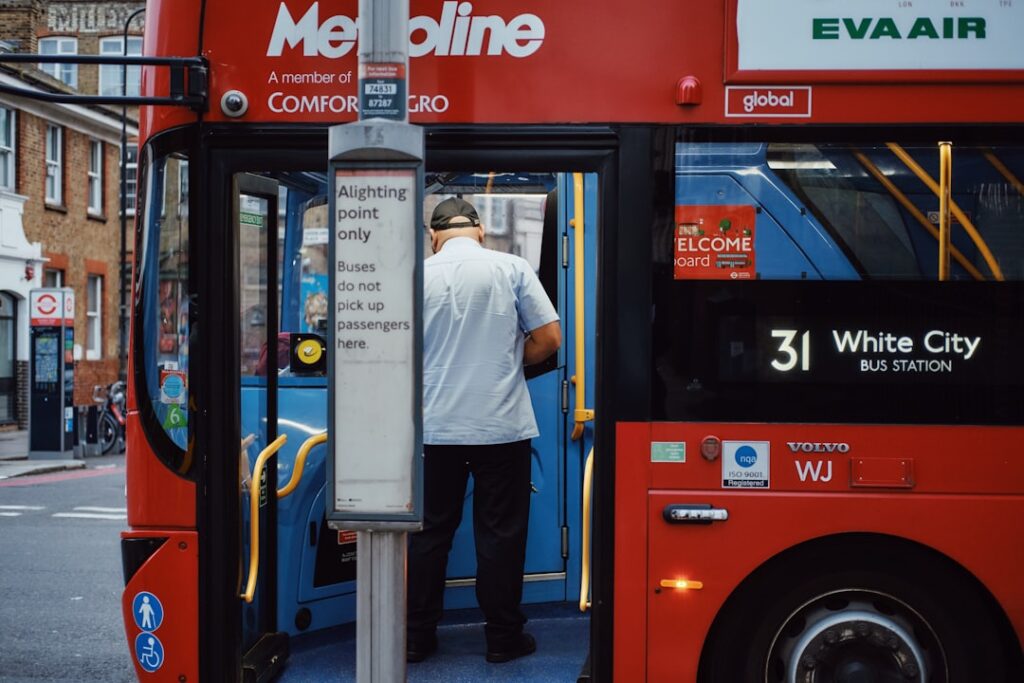
- For buses: only touch in when boarding through the front door; there is no touch out. The system charges a standard flat bus fare (around £1.75 ≈ €2.01). Always validate when boarding to avoid penalties.
- For the DLR and trams: the same rule as the Tube — touch in and touch out.
Local tips:
- Keep your Oyster in a separate card holder to avoid interference if you’re also carrying a contactless bank card.
- If the reader displays “Oyster not valid for travel”, speak to a staff member at the gate or visit a Travel Information Centre. This usually happens due to a missed touch out or a faulty card.
Lost card, refunds and recovering your balance: steps with addresses and contacts
Losing your Oyster can be stressful, but there are procedures to protect and recover your balance if the card is registered.
If your Oyster is registered:
- Log in immediately at account.tfl.gov.uk and report the card lost or stolen. You can request a “suspend and replace” to transfer the balance to a new card.
- Replacement: there may be a replacement fee (often no charge to transfer the balance; check current terms). For face-to-face help, visit a Travel Information Centre such as King’s Cross St. Pancras, Euston Rd, London N1 9AL — open about 06:00–22:00.
- If you’re still in London, call TfL Customer Services on +44 343 222 1234 (international number). From France, it’s usually better to use TfL’s email/contact form so you have written records.
If your Oyster is not registered:
- The only way to attempt to recover the balance is to visit a refund desk (often a Travel Information Centre) and make a manual claim; you may need proof of purchase. Be prepared that you might lose the card deposit if the physical card cannot be located.
Final refund:
If you’re leaving London and want to claim any remaining balance (and the card deposit), you can visit a Travel Information Centre before you depart or send the card by post to TfL for a refund (check for processing fees). Sample mailing address (confirm on tfl.gov.uk before sending): TfL Customer Services, 14 Pier Walk, Greenwich Peninsula, London SE10 0ES.
Quick checklists — printable and ready to use
Here are handy checklists depending on your situation — save them to your phone or print them out.
Airport quick-buy checklist
- [ ] Locate the Oyster ticket machines on arrival (follow signs for “Tickets / Travel Information”).
- [ ] Have €12–€25 on card or cash ready to cover the card deposit and an initial top-up.
- [ ] Buy and test the card at a gate (touch in) before taking any train or bus.
- [ ] Note the airport and time of purchase for any claims (eg: Heathrow Terminal 5, Longford TW6 2GA, machines often 24/7).
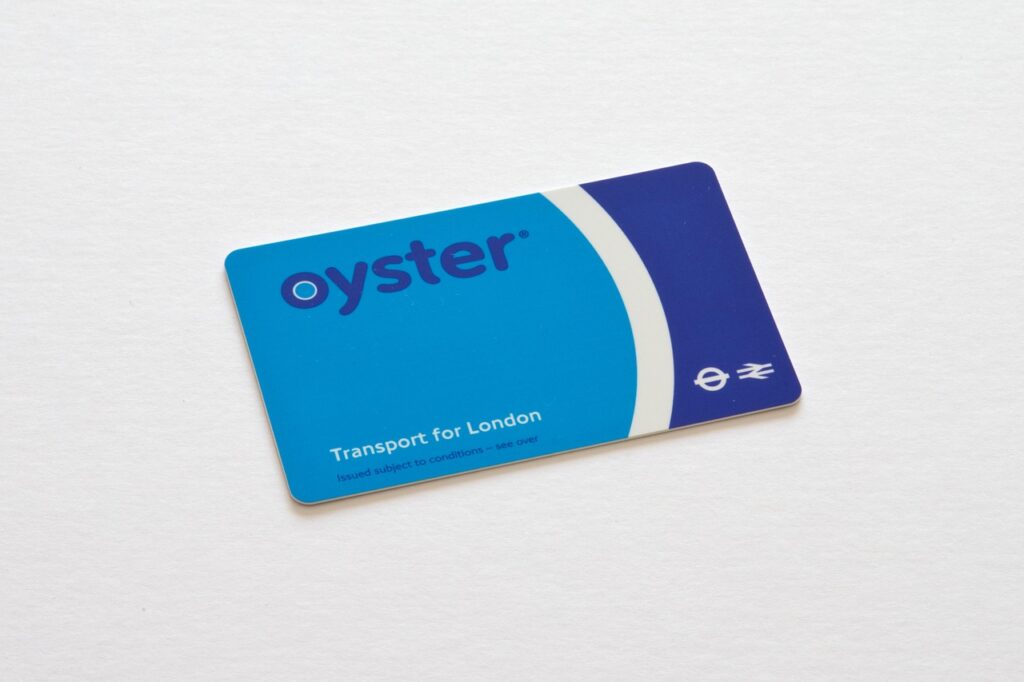
Before leaving London checklist
- [ ] Check your Oyster balance and decide whether to request a refund if balance > £0 (≈€1.15 per pound).
- [ ] If the card is registered, request a balance transfer to a replacement card or a refund via account.tfl.gov.uk.
- [ ] For in-person refunds: visit a Travel Information Centre; for postal refunds, keep your receipt and follow the instructions on tfl.gov.uk.
Common mistakes and quick fixes (concrete troubleshooting)
Error 1 — “Reader not accepting card”: try gently cleaning the chip with a soft cloth; if that fails, go to the ticket counter and ask them to test the card. If it’s defective and registered, you should be able to get a replacement.
Error 2 — Forgetting to touch out: you may be charged a maximum fare; if you believe an error occurred, keep any proof of travel (national rail ticket, station receipt) and contact TfL for a fare correction via their online form.
Error 3 — Buying a Travelcard for the wrong zone: request a partial refund at the ticket counter with proof of purchase; processing fees may apply.
Conclusion — Practical recap and final tips to save time and money
To sum up: buying and topping up an Oyster card in London is straightforward if you know where to go and what steps to follow. At the airport, use the ticket machines in arrival halls (Heathrow Terminal 5, Gatwick South Terminal, Stansted Arrival Hall) for a quick transaction. In the city, use the machines at major stations (King’s Cross St. Pancras, Victoria, Liverpool Street, Paddington) or visit a Travel Information Centre for more complex purchases like a 7-Day Travelcard. You can top up via machine, PayPoint outlets or online through your TfL account — if you top up online, don’t forget to “collect” the top-up at a station terminal.
Final practical tips:
- If you have a working contactless bank card (Apple Pay/Google Pay), it can replace an Oyster for short stays and avoid the initial card purchase. Check your bank’s limits and foreign fees first.
- Always keep a small initial balance on your Oyster (recommended €11–€23) to cover your first trips without stress.
- Keep receipts (ticket machine receipts, online confirmations) until the end of your trip in case you need a refund.
And a local nod: Londoners tend to favour the speed of contactless validations and will accept an Oyster as a sign you know how the city works. Follow the steps in this guide and you’ll save time, cut transport costs and enjoy exploring London with peace of mind.