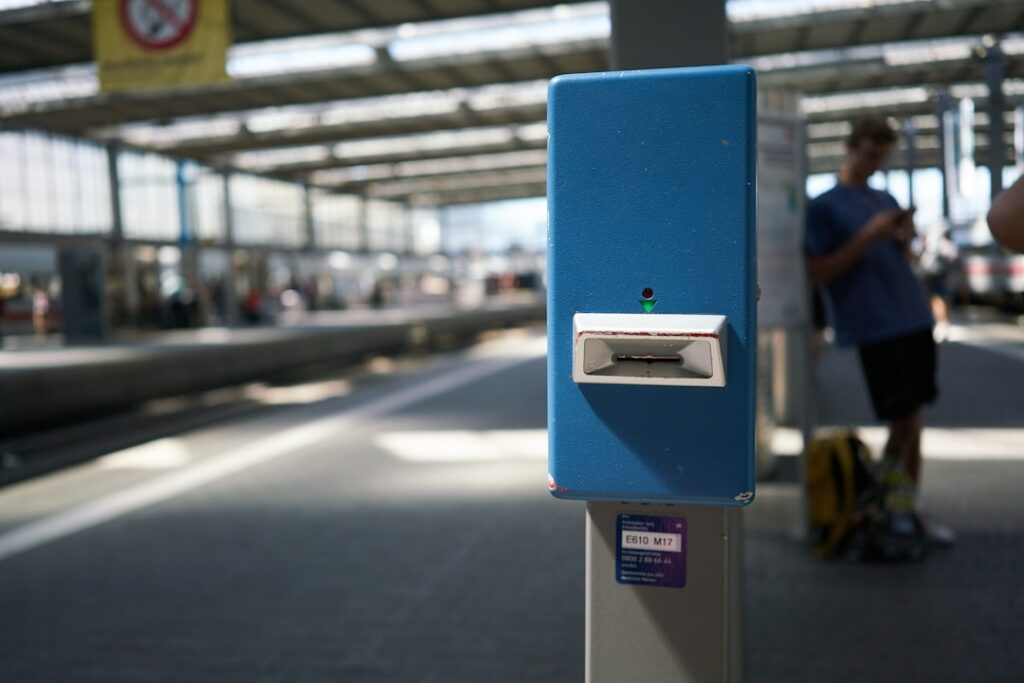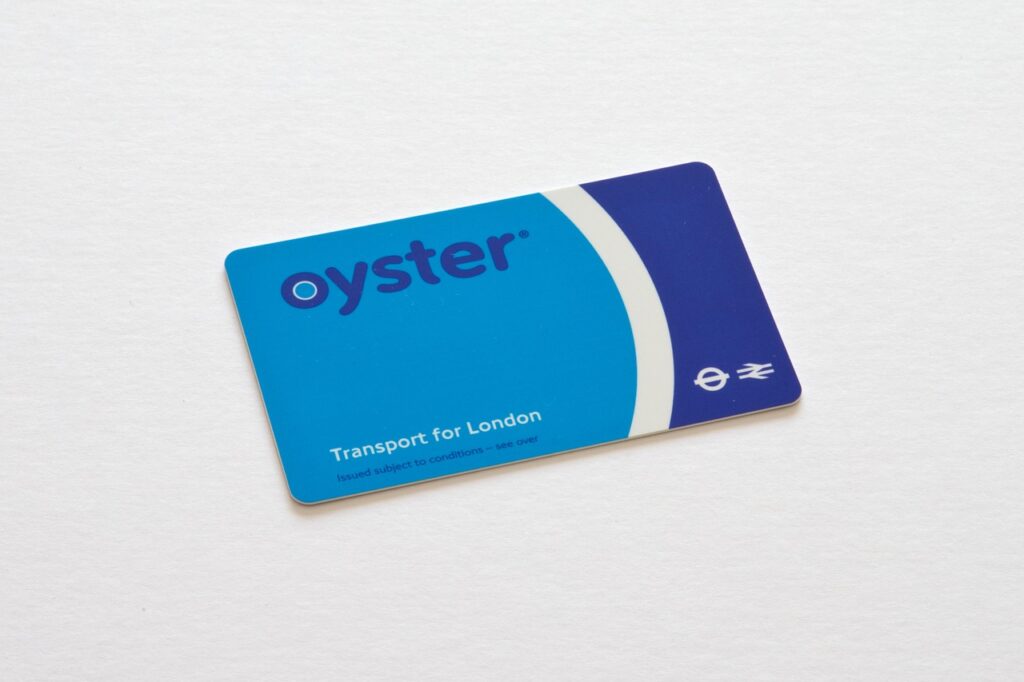






Introduction — Why Mastering Oyster and Contactless Payments in London Matters
Traveling to London means navigating a dense, efficient transport network that can get expensive if you don’t know the rules. Oyster and contactless payments (bank card or smartphone) are the two main ways to pay for most journeys on the Transport for London network (Tube, buses, DLR, London Overground, Elizabeth line, Tramlink and some sections of National Rail within the zones). This practical guide gives you concrete instructions, addresses, opening hours, prices in euros, numbered steps and checklists to help you start saving right away during your stay.
Why this guide is different: it doesn’t stay at the level of generalities. You’ll find precise addresses — for example where to buy an Oyster on arrival (Heathrow ticket offices or the London Travel Information Centre at Victoria), exact costs converted to euros, opening hours for the main sales points, and step-by-step procedures to avoid penalties (double-taps, blocked cards, refunds). You’ll also learn how to use daily and weekly caps, how to combine Oyster and contactless, and which option is best depending on the length of your stay and your itinerary.
In practice, the golden rule is simple: if you’re in London for less than a week and you have an international contactless bank card or a smartphone with Apple Pay/Google Pay, contactless payments are usually the easiest option. Oyster is still useful for those who prefer a physical card (families with kids, people without an international bank card, long-stay travellers). This guide explains how to activate, load, use and return an Oyster, how to check you’ve been charged the correct fare, and how to protect your contactless payments from mistakes. You’ll also find real-life examples: journeys from Heathrow, Gatwick, Stansted and arrivals by Eurostar at St Pancras.
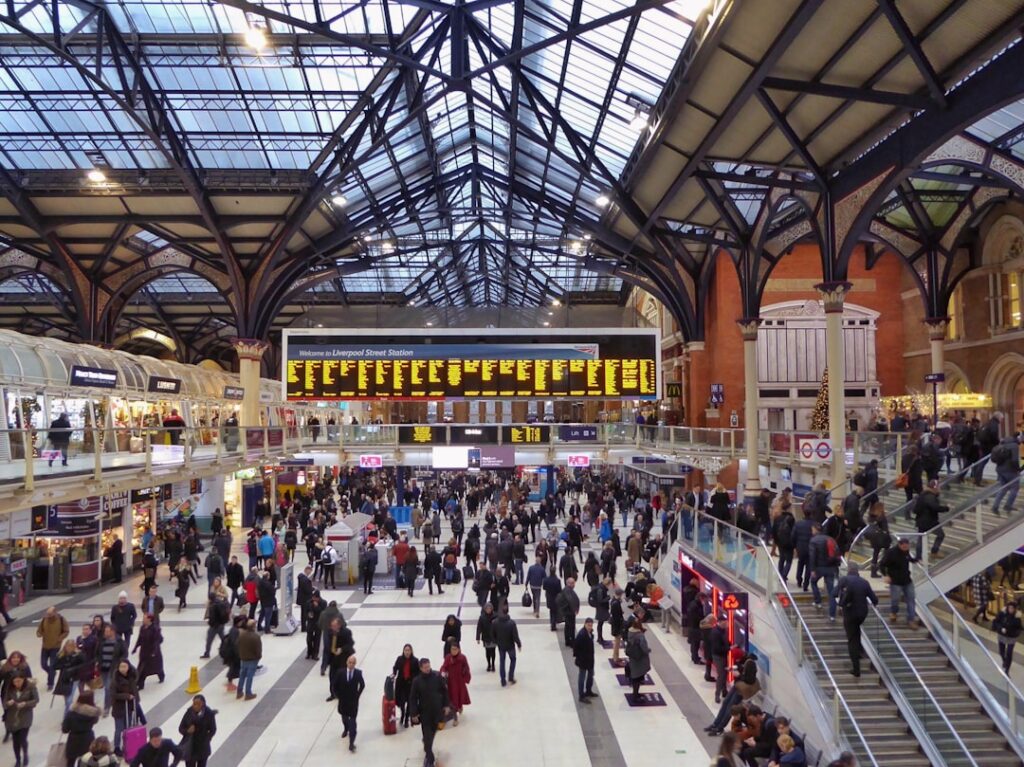
1) Before You Go: Choosing Between Oyster and Contactless (Which Option Fits You)
Step 1 — Assess your traveller profile. Quickly answer these questions: will you be 1–7 days in London? Do you have a contactless bank card issued outside the UK? Are you travelling as a group/family that needs multiple payment methods? Do you prefer a physical card? Based on your answers, choose:
- Contactless payment (bank card or smartphone): ideal for short stays (1–14 days) if your card supports it. Pros: no initial deposit, you automatically benefit from daily caps and TfL price capping. Cons: some banks charge currency conversion fees and may block the card if you haven’t notified them.
- Oyster Card: a better option for longer stays, travellers without an international bank card, families (multiple Oyster cards for children), or to avoid bank fees. Pros: refundable deposit and easy top-ups. Cons: initial cost (deposit) and need to return the card for a refund.
Step 2 — Check your bank fees. Call your bank or check the app before you leave. Example: if your bank charges 2–3% on each GBP transaction, a preloaded Oyster (topped up in cash or via a local card payment) may be cheaper. Use this approximate conversion to plan: 1 GBP ≈ 1.17 EUR (indicative — check your bank’s exact rate). Sample conversions for planning: Zone 1 Tube single ≈ £2.50 ≈ €2.93; bus single ≈ £1.75 ≈ €2.05; daily cap zones 1–2 ≈ £7.70 ≈ €9.01.
Step 3 — Key benefits to know right now:
- Daily cap: your card (Oyster or contactless) won’t be charged more than a set daily limit. Example zones 1–2 ≈ £7.70 (≈ €9.01).
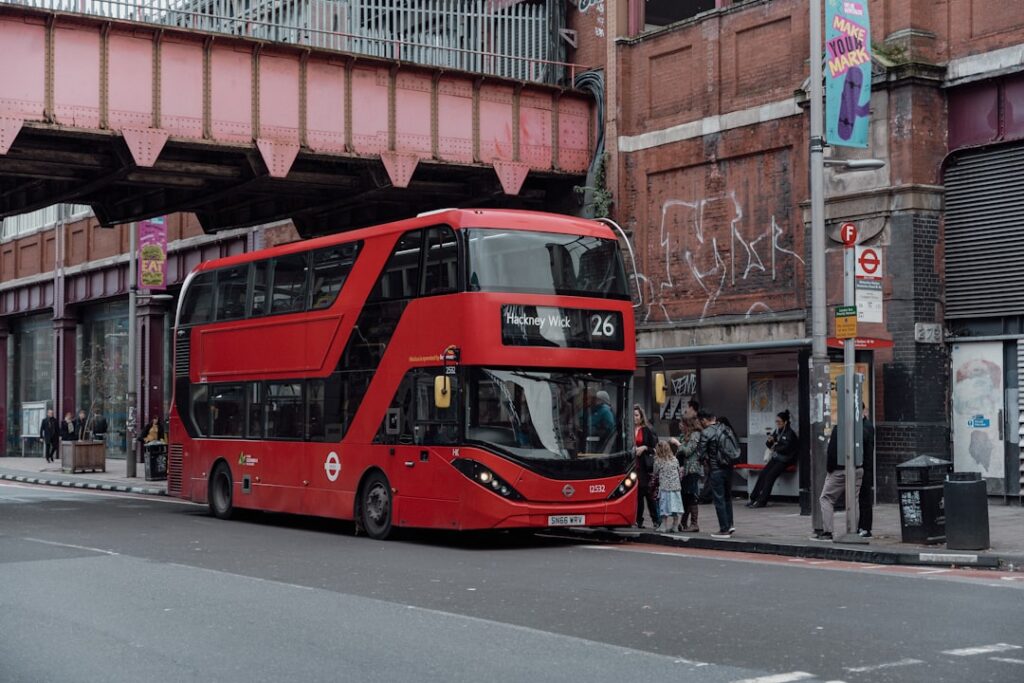
- Bus Hopper fare: multiple bus or tram journeys within 60 minutes cost the price of a single trip (flat fare) ≈ £1.75 (≈ €2.05) when you use the same card/contactless.
- No cash on the Tube: you must pay with Oyster or contactless — cash isn’t accepted at turnstiles.
- No activation needed for contactless cards: just tap in and tap out (except on buses where a single tap in is enough) and TfL handles the billing.
2) Buying and Setting Up Your Oyster / Activating Contactless — Addresses, Hours and Steps
Where to buy an Oyster Card on arrival — main options and opening hours:
- Heathrow Airport — Heathrow Central Underground (Piccadilly Line) ticket machines and Travel Information Centre, Heathrow Terminals 2&3, Airport Transit. Main address: Heathrow Airport, Hounslow TW6 (concourses vary by terminal). Hours: ticket desks often 05:00–23:00, machines 24/7. Price: Oyster deposit £5 ≈ €5.85 + recommended initial top-up (suggested £10 ≈ €11.70).
- Gatwick Airport — Gatwick Station, North Terminal, Station Approach, Gatwick RH6 0PA. Visitor Centre and ticket machines typically 05:00–23:00; machines 24h. Buy an Oyster at a booth or machine; deposit £5 (≈ €5.85).
- St Pancras / King’s Cross — London Travel Information Centre, Euston Rd, Kings Cross, NW1 2DU (King’s Cross St Pancras station main concourse). Typical hours 07:00–22:00.
- Victoria — London Travel Information Centre, 55 Broadway, Victoria, SW1H 0BD. Usually open 07:00–20:00 (seasonal variations possible).
Steps to buy and set up an Oyster (numbered):
- Go to a ticket desk or one of the ticket machines at a station listed above. Choose « Buy Oyster Card. » Pay the £5 deposit (≈ €5.85) and load at least £10 (≈ €11.70) if you plan to travel on day one.
- Keep your receipt. The balance is stored on the chip and can be topped up in cash, by card or via the TfL app if you register the Oyster on your TfL account.
- If an Oyster Visitor card is offered (when available), check for included attraction offers; otherwise take a standard Oyster.
- For contactless: make sure your bank card shows the contactless symbol (four curved waves). Activate Apple Pay/Google Pay before you travel: add your card to your wallet and test the NFC function.
- Important: if your bank requires advance notice (3–5 days) for foreign use, inform them before you travel. Otherwise your bank may block the first transaction and leave you unable to pay.
Local tip: on the machines, select English to access options like « Pay as you go », « Top up » and « Daily cap info ». Machines accept cards and cash. Visitor Centres also accept card payments and hand out free tube maps.
3) Daily Use and Money-Saving Tricks — Practical Steps, Mistakes to Avoid
Daily practical steps (numbered):
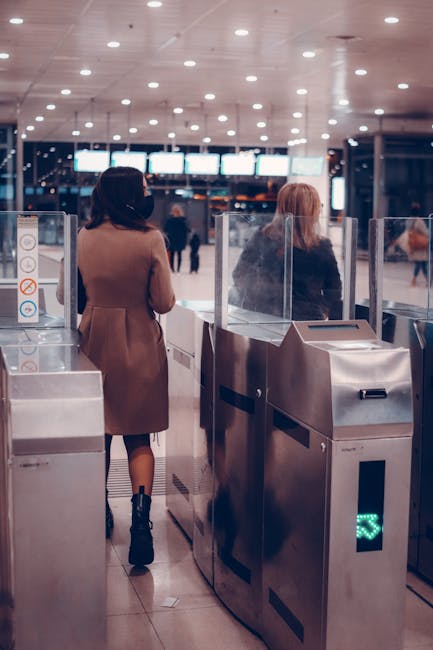
- Before entering a station, check whether your trip starts on a bus or the Tube. On a bus you only need to « tap in » once. On Tube/DLR/Overground you must tap in (on entry) and tap out (on exit) to be charged correctly.
- Use the same card/contactless payment for every leg of a multi-modal journey so the system calculates the combined fare and applies daily caps.
- If you carry multiple contactless cards (e.g. personal card + travel card), present only one to the gate — otherwise the system may pick the wrong one and you could be charged twice.
- For the Bus Hopper Fare: if you change buses within 60 minutes and use the same card, you’ll be charged just once (≈ €2.05). Very handy in areas where buses are more direct than the Tube.
Common mistakes and fixes:
- Mistake: forgetting to tap out at underground stations — Result: maximum fare or penalty applied. Fix: if you realize immediately, return to the same exit and tap out; otherwise contact TfL the same day via tfl.gov.uk/contact.
- Mistake: using two contactless cards on the same day — leads to separate daily caps. Fix: pick one main card for the day and put the others away.
- Mistake: trying to pay with a non-contactless-only card (chip-only) — Fix: carry a backup card or buy an Oyster at a ticket desk.
Local saving tips:
- Do most of your sightseeing within Zones 1–2 to keep costs down: many top attractions (British Museum, Buckingham Palace, London Eye, Tate Modern) are in Zones 1–2. Rule of thumb: plan visits by zone.
- If you make several return trips in a day, the daily cap (zones 1–2 ≈ £7.70 ≈ €9.01) protects you from high fares. For example, three Tube journeys would normally exceed that amount — you won’t pay more than the cap.
- Use the Overground lines to avoid expensive transfers and shorten waiting times — they’re covered by Oyster and contactless.

4) Practical Cases: Airports, Excursions, Refunds and Emergencies
Concrete journey from Heathrow (budget option):
- Cheapest option to central London: Piccadilly Line (Tube) into Zone 1. Example route: Heathrow Terminals 2&3 Underground Station → Piccadilly Line → Earl’s Court → change for District/Circle if needed. Duration: 50–60 min. Approximate contactless/Oyster single fare zones 1–6: ≈ £6.00–£6.80 (varies by final zone) ≈ €7.02–€7.96. Check your exact fare for your arrival station.
- Faster but pricier option: Heathrow Express (to Paddington) about £22 one-way ≈ €25.74. Heathrow Express fares don’t benefit from Oyster/contactless price caps and require a separate ticket.
From Gatwick:
- Gatwick Express (Gatwick → London Victoria) ≈ £19 one-way ≈ €22.23 (often more expensive than Southern/Thameslink trains).
- Thameslink/Gatwick direct trains accept contactless/Oyster if you’re travelling only within TfL-covered zones; check the TfL zone map for your exact destination.
Oyster refunds and returns:
- If you want to recover the deposit + remaining balance: go to a Ticket Stop, a station ticket desk (e.g. Victoria, King’s Cross), or request a refund online at tfl.gov.uk and send the card by post if required. Postal address and form are on the TfL site. Desk hours: check the station’s times (e.g. Victoria 05:00–23:00). Processing fee: none for standard refunds; bank processing typically takes about 7–10 working days.
- If you lose a registered Oyster: log in to your TfL account to block the card and transfer the balance to a new Oyster (fees may apply for replacement cards if not covered automatically).
Emergency situations (lost card / incorrect charges):
- TfL help point: London Travel Information Centre, 55 Broadway, Victoria, SW1H 0BD — hours vary, often 07:00–20:00. TfL general phone: +44 (0)343 222 1234 (check the number on the TfL website before calling from abroad).
- If you are charged incorrectly: keep all receipts (machines issue tickets), take photos of screens and contact TfL online via tfl.gov.uk/contact attaching evidence and journey times.
Conclusion — Final Checklist and Practical Recommendations
Quick checklist (print or save on your phone before you leave):
- [] Do you have a compatible contactless bank card? If not, buy an Oyster on arrival (allow £5 deposit ≈ €5.85 + minimum top-up £10 ≈ €11.70).
- [] Have you notified your bank to avoid payment blocks abroad?
- [] Have you set up Apple Pay/Google Pay and added your main card if you prefer to pay with your phone?
- [] Have you downloaded Citymapper or TfL Go to check routes and real-time times?
- [] Are you planning to stay mostly within Zones 1–2 to keep costs down?
Final reminders and local tips: always present only one contactless card at the gates to avoid double charges. For families, consider Child Oyster cards for eligible young travellers or use a valid child fare card; some ages travel free — check the exact age rules (children 11 and under normally travel free under conditions). In case of any issue, head to the nearest London Travel Information Centre (for example 55 Broadway, Victoria SW1H 0BD; King’s Cross St Pancras station concourse) for in-person help.
Finally, remember: mastering Oyster and contactless will save you time and money. A little prep (notifying your bank, picking a primary card, knowing when to tap in/tap out) lets you take full advantage of daily caps and favourable bus fares. Then you’ll be free to enjoy London — museums, markets, parks and theatres — without worrying about a rising transport bill. Have a great trip, and feel free to ask me for a personalised itinerary based on where you’re staying and what you want to see!